REQUIRES EDIT MENU PERMISSION
Adding a New Menu Item
To add a new item (menu folder or map link) to the menu, you can add the information manually using the Details section or drag existing content into the menu from the Published Content view.
Adding a Menu Item Manually
If the Detail view is not visible, click on the Detail button.
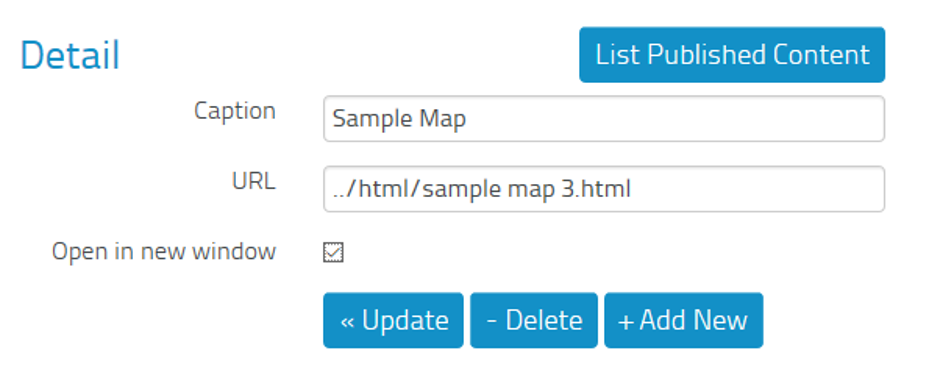
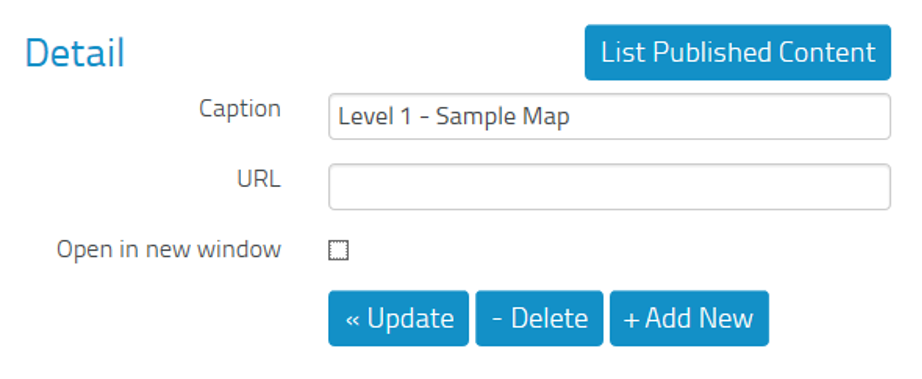
- In the Caption text box, type the name you want to display on the homepage menu for the item.
- If you are adding a map link:
- Enter the path in the URL box, for example:
../html/sample map 3.html - Select the Open in new window check box if you want the map to be displayed in a new browser window when a user clicks on the link.
Details for a new map link to "sample map 3.html", which will be displayed in a new window
- Enter the path in the URL box, for example:
- Alternatively, if you are adding a menu folder, ensure that the URL box is clear of text.
- Click on the + Add New button. The new item is added to the bottom of the hierarchy.
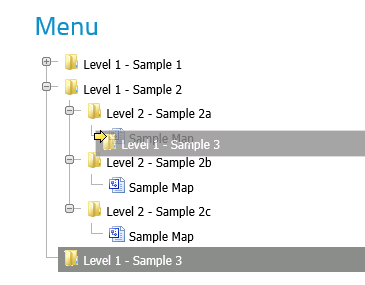
- Position the new item in the Menu hierarchy using drag and drop to organise the menu items.
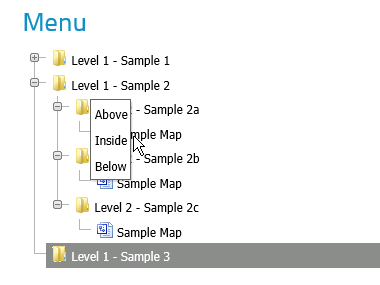
The yellow arrow indicates a target item: when you drop the new item, you are prompted to choose whether to insert the item:
- Above
At the same level as the target item but one place higher in the Menu list, at the same level in the hierarchy. - InsideNested within the target item
NOTE: You cannot nest map links. During drag and drop positioning, you can only place a map link above or below an existing map link.
- Below
At the same level as the target item but one place lower in the Menu list, at the same level in the hierarchy.
Using drag and drop to organise the menu

- Above

NOTE: Do not click on the <<Update button: this will replace the settings on the currently selected item with the new details you have just entered.
Adding a Menu Item using Published Content
If the Published Content view is not visible, click on the View Published Content button.
Drag the published content (folder, file or map) into the Menu tree at the appropriate position. The yellow arrow indicates a target item: when you drop the new item, you are prompted to choose whether to insert the item:
- Above
At the same level as the target item but one place higher in the Menu list, at the same level in the hierarchy. - InsideNested within the target item
NOTE: You cannot nest map links. During drag and drop positioning, you can only place a map link above or below an existing map link.
- Below
At the same level as the target item but one place lower in the Menu list, at the same level in the hierarchy.
Saving Changes
If you want to save the menu to two or more sites, use the Sites to update check boxes to select multiple sites within the current library. You must save the menu to the current site and so cannot uncheck the current site.
NOTE: If you tick other site boxes, it will copy the whole menu to the other site(s), not just the changes you have just made.
When you are satisfied with the menu structure, click on the Save Changes button.
The new item is implemented in the homepage template and can now be viewed on the site's homepage. A backup of the previous flash-menu.xml file is saved to the Archive sub-folder of the static html folder for the current site. This also applies to other sites selected using the Sites to update option.
If you do not want to apply changes, close the Menu Editor browser tab without clicking on the Save Changes button. You will be prompted to Leave or Stay. Select Leave to close the tab or Stay to return to editing.